Can You DIY Ceramic Coating?
Ceramic coatings are currently living their best life. And why wouldn’t they? They have so many benefits! The truth is, an increasing number of car enthusiasts are trying them in the pursuit of car appearance perfection. But here’s the downside: when applied by professionals, a car ceramic coating comes with a steep price not everyone can afford.
However, thanks to extensive developments in the car detailing technology, car-enthusiasts have now many DIY coatings to choose from. And since many of you have asked for some good, DIY ceramic coating tips, we know this article will come in handy.
In this extensive guide, we’ll cover everything you need to know about applying a ceramic coating on your vehicle by yourself. If this is right up your alley, rest assured by the end of this article you’ll have all the knowledge to achieve that showroom look you’ve been longing for. Let’s dig in!
Ceramic Coatings For Beginners
A car owner’s life used to be so much less complicated in the past. When it came to looking after your vehicle, all you needed to do back then was wash your car with water, soap, and apply wax. Even the waxing part came after 1930 when the first car wax was invented based on an old formulation used initially for antique furniture.
Since then, things have progressed fast, and now, the car detailing scene looks much different! Today we have hundreds of car care products, all designed to help you preserve your car’s appearance for as long as possible.
As any vehicle owner can attest, when you purchase a new car you have one thing in mind: to keep it looking dandy as it did on day one. Yet despite our best efforts to wash and maintain our vehicles, within a few years the paint will start to look dull. What’s worse, swirl marks will begin to appear. Then you also have to factor in the sun and acid rain, causing your car’s paint to fade even more.
To choose a good paintwork protection product, the options boil down to:
- Clay bars
- Car waxes
- Buffing pads
- Non-ceramic spray waxes
- Ceramic sprays
- Tire shines
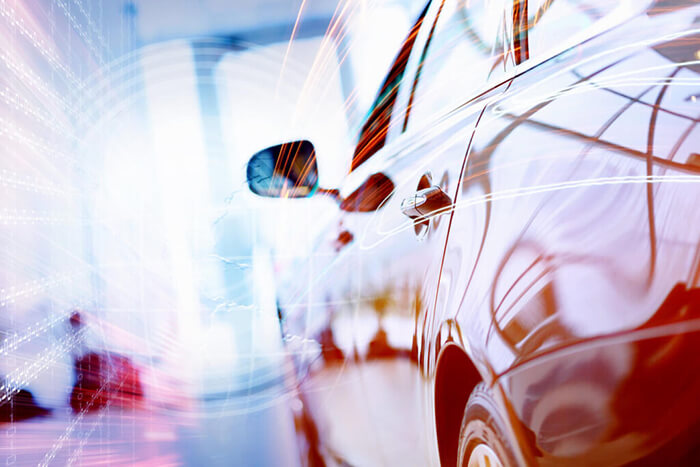
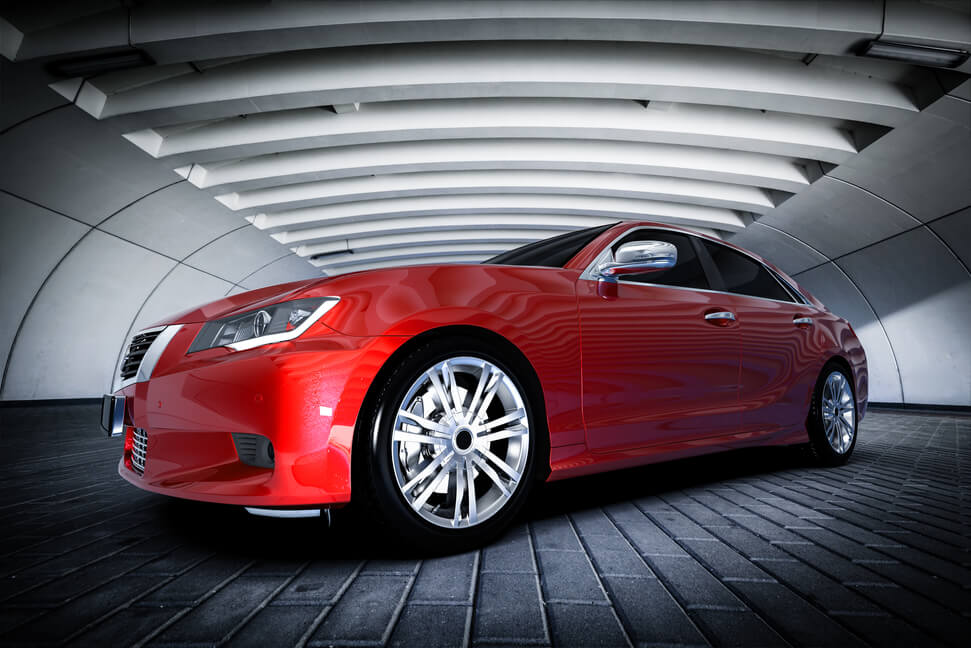
Among all these, ceramic coatings have been one of the biggest inventions in the industry. These provide car enthusiasts with incredibly tough, highly effective and long-lasting protection.
A ceramic coating is an innovative, multi-faceted product made of SiO2 in combination with other chemical compounds. To name a few, there’s deposited aluminum dioxide, deposited chromium oxide, or titanium dioxide.
But among them all, SiO2 is the only one you should actually care about. Why? Because the higher the content of SiO2, the stronger the formula. So then, what are the nano-ceramic coatings you hear everyone talking about?
What Are Nano Ceramic Coatings?
The market for ceramic coating products is pretty crowded these days. You have some that help remove water spots, fill scratches, or act as paint sealants. Others are great at protecting against dirt, road grime and dust build-up, or bird droppings. In the end, all these paint coatings pretty much do the same thing. They all enhance your car’s shine and provide long-lasting ceramic protection. The differences result from what materials they are each made of, their unique formulations, and application methods.
Among all these products, the words “nano coating” and “nanotechnology” come up quite often. This is because ceramic coating uses nanotechnology to pack all these chemical components into a big punch, giving your car that sheer level of protection.
Then, what does nano coating mean? Nano coating, sometimes referred to as nano sealing, is just a fancy way of saying the same. A commonly used marketing term, it only refers to the particle size of the material used, not the material itself. So if you are applying a ceramic coating to your car, you are pretty much nano coating it!
So…Why Should You Apply a Ceramic Coating?
Ceramic coating has great benefits that will add value to your car in the long run, making maintenance less tedious. But this doesn’t mean it should be seen as a one-stop solution for all your paint worries.
When applied correctly, ceramic coatings can help with scratch and bird droppings resistance, reduce oxidation, protect from UV damage, high temperatures, and bug splatters.
Even if you drive amongst harsh and unpredictable climate factors, you can relax knowing your ceramic coating is doing its job.
A ceramic coating doesn’t have to be used only for car paint.
It can be applied on many of your vehicle’s surfaces. You can include headlights, trim, fiberglass, vinyl wraps, wheels, glass, and chrome. Even the liner of truck beds is a go! You can give them a new lease of life, and a brand new appearance.
Like said before, no product on the market is infallible. That’s why we don’t want to give you the wrong impression! Although an amazing product to use, any ceramic coating existing today will have its share of pros and cons. Let’s see…
Pros:
- Protection against environmental factors
- Keeps your car cleaner for longer
- It’s anti-stick
- Can last for years in the case of professionally applied paint coatings
- It has hydrophobic properties
- Successfully replaces wax and all other detailing products used previously
- Enhances shine
- Protects against stains
- Keeps the car’s value for longer
- Can be used on any porous surface
Cons:
- No protection against scratches and deep swirl marks
- No protection against water spotting
- The need to reapply it every few years which can be costly if you choose a professional service
- Doesn’t eliminate the need to wash your car

What’s The Best DIY Ceramic Coating Out There?
If you decide to go down the DIY route, choosing the best ceramic coating kit might be a bit overwhelming. With so many options on the shelves that all promise the moon and stars, it makes it all very confusing if you are a newbie detailer.
Yes, you can read different reviews, or turn the Internet upside down in search of some pertinent information. But there’s one thing you should know. Not everything you read online comes from an independent and trustworthy source. Many brands pay a lot of money to be depicted in a much better light.
If you want to make an informed decision based on accurate facts, you need to know whose opinion to listen to and what reviews to trust. Avoid getting misled into making the wrong choice, which can end up costing you both money and time.
In general, when comparing professional to DIY ceramic coatings, there are two cons points for the later ones.
Cons of DIY Ceramic Coatings
Number one is you’ll have to apply the coating yourself, which takes time to do properly.
The second is that most of the DIY coatings on the market cannot quite match up to professional ones in terms of durability and resistance. A do-it-yourself formula will be different from the pro-grade stuff. It requires slightly less prep work, and it’s designed for an improved application.
Pros of DIY Ceramic Coating
You have to admit the pros of ceramic coating are hard to ignore. While the average professional ceramic coating will run you more than $1,000, a high-quality DIY nano-ceramic coating will cost about 90% less.
On average, both professional and DIY products offer the same level of protection. What’s more, they provide similar results such as exceptional shine and hydrophobic properties.
That said, once you know what to look for, you’ll discover certain brands have a high SiO2 concentration, making them a great alternative to the more expensive, professional alternative. A product that we have total faith in is the Nexgen Ceramic Spray.
If you got here not only to learn how to apply a ceramic coating, but also in search of a recommendation for the best DIY coating to pick, you cannot get better than Nexgen.
Coming at a mere price of only $19.95 per bottle, this product can coat your vehicle between 4 to 6 times, depending on its size.
The Nexgen will leave your vehicle with the beautiful “wet look” anyone strives for when applying a ceramic spray. Also, thanks to its 13% SiO2 content (higher than any other product of its kind), it will last up to 4 times more than other similar ceramic sprays on the market. To top it all up, the Nexgen Ceramic Spray is extremely user-friendly, safe, and easy to use on all parts of your vehicle, and can last anywhere from 6-12 months. Get it for 40% off here.
Is It Hard To Apply Ceramic Coating?
Applying a DIY ceramic coating is not hard at all once you know the right steps. Apart from having the right knowledge, you’ll also need a dash of patience and passion for cars to spend enough time on it, and do it right.
Just keep in mind that not all ceramic coats are applied the same way, although they generally follow the same steps. What differentiates their applications is the product that you choose to use and your vehicle’s specific needs.
When you take your car to a professional detailer, the process can take anywhere up to 3 days, depending on what package you choose. Why? Because when going to a certified detailer, the job of applying a ceramic coat involves many steps, most of which you’ll learn about from this post.
Other than this, many detailers like to add different layers of ceramic coating onto your car, claiming it will make the coating last longer.
When applying a DIY ceramic coating, you can coat your entire vehicle in a few minutes. Together with the prep work, it can take a couple of hours. This is still much less than the several days it will take a professional detailer.
So here’s a step-by-step guide to getting your car all prepped up for ceramic coating.
Wash Your Car Really Well
Start the process with a clear water rinse. This initial washing is supposed to remove the dust and debris existing on the surface. It will also ensure you won’t grind the surface road grit into your paint finish when soaping the car.
And since we’re talking about soaps, don’t make the mistake of using anything you have at hand. Or, God forbid, the common choice many car owners resort to: dishwashing liquid. Not using a professional soap can suck important oils out of your car’s finish, shortening the life of your paint.
A second mistake we see car owners making when they prepare for a DIY ceramic coating is they use a sponge to wash their cars. The problem with sponges is that they tend to capture and hold dirt in their pores, which in turn will scratch the paint. As any professional car detailer will recommend, a microfiber mitt is much more suited as it allows the grit to fall out when you rinse
Now, you must have probably heard many people recommending you to use two buckets for washing. This is so that you can use one for clean water and one for rinse water.
Once you’ve wiped your car, place the mitt into the rinse bucket, and swirl it around to remove all impurities. Then, soak it in the first bucket with soap and pick up where you left off. That’ll keep the soapy water clean and prevent dust, debris, or dirt from scratching the paint.
After you finish the washing process, dry the car with a microfiber towel.
Use a Clay Bar
Many experts recommend using a clay bar treatment after washing and drying your car. Be sure to use the appropriate lubricant. Clay bars help the ceramic coating bond to the car’s surface, last longer, and look flawless! This step can also help remove any additional contaminants left behind once you are done washing.
Polish To Remove Defects
When you have fine defects that need to be removed, DIY ceramic coatings won’t help. It might temporarily cover up some blemishes, but it won’t make them go away. We’re talking about fine scratches, swirl marks, water spot etching, and stains or burns from bird droppings.
To solve these problems you must use a light polish. Polishing before applying ceramic coating makes a huge difference, so don’t forget about this step. Unlike high-speed buffers that professional car detailers use, you can use a dual-action polisher. These run with lower speeds and oscillate as they rotate, eliminating the risk of burning the paint if you keep them in place for too long. They are great for any beginner DIY-er, and you could get the hang of polishing in just a few minutes.
Wash The Car Again
Although this might come as a surprise, washing your car again after ceramic coating at this point ensures it is completely free of grease and oils.
Surface Prep Spray
If you think the DIY ceramic coating prepping is done by this point, well… not so fast!
Before you set yourself up for coating, you need to check for any lingering polishing oils, waxes or silicone-based dressings. These must be completely removed! A surface prep spray is an Isopropyl Alcohol solution that will remove any trace of polish residue, cleaning residue, waxes or oils left on the paint.
You prime before you paint a wall to get the best result, right? Same concept here! Prime a panel, then coat it. For example, prime your whole front fender, then coat it in 2 sections.
Apply The Ceramic Coating
Now that you’re ready to coat, be sure to wear gloves as you shouldn’t leave greasy prints on the car! Other than this, it’s extremely important to keep your car protected during the entire application process, and for a few hours after. If you washed your car outside, make sure it has had time to cool down in a dry and shaded area.
Assuming that you chose to use a DIY ceramic coating spray like Nexgen, start by spraying the product directly onto your vehicle. Alternatively, add it to the applicator first if you’d rather work in smaller, more controlled sections.
Different types of ceramic coatings will give different directions on how exactly to apply.
Some will say to use small circular motions. Some would indicate more of a criss-cross or cross-hatch fashion. All in all, what matters most is to follow the instructions!
It’s best to split the hood into a few sections. Then do the rest of the car ½ panel at a time. It’s essential to get the time correctly as waiting too long can cause high spots.
High spots are dark areas in the paint that are impossible to remove without buffing.
The best amount of curing time is between 3-4 minutes to be safe. Also, keep multiple microfiber cloths nearby as you should continue to use a clean cloth to avoid over-saturating your application area.
You can use a second coating if you prefer, or use the extra product on the lights, wheels, or windshield. To make sure the coating turns out perfect, keep the car dry for 24 hours. You’ll notice that when the car is fully cured, the finish will pop even more.
Buffing
The last step of the application process is buffing. Surprised to see this procedure at this stage? The reason for buffing is you should remove any additional oils that might be resting or settling on your car’s surface. The more meticulous you are, the better results you’ll get.
Wondering how to buff? It’s simple really. Apply a generous amount of compound on a buffing pad. Once you start buffing, make sure you monitor the amount of product on the pad to avoid buffing your car with a dry pad. Then grab a buffing tool and press it firmly against the car’s surface, moving it in a circular motion. Keep it moving the whole time as leaving it in one spot without moving it could damage the surface.
Curing
Although curing time can sometimes be overlooked by eager detailing enthusiasts, this step plays an important step in any DIY ceramic coating.
Curing basically refers to how long it takes for a ceramic coat to bond with the car’s clear coat. The time needed for curing depends on the product, its manufacturer’s recommendations, and the climate where you are applying the coating. If it’s too hot or too cold, the curing time can be longer or shorter.
Until the ceramic coating has ‘dried’ or bonded properly with your clear coat, it can’t protect it as it should. And while you’ll notice the drying starts immediately, it’s best to let your car sit for one to two days after application. This guarantees the coating has completely cured to the surface.
Maintenance
Most high-quality ceramic coatings are rock strong once they cure. And yet, they still require some routine maintenance and care to help extend their lifespan and brilliance.
Depending on the kit or products that you purchase, you’ll have the option to perform touch-ups as needed over time.
No matter if you drive your car often or just from time to time. It’s recommended washing it every other week to avoid the excessive build-up of contaminants. A DIY ceramic coating won’t eliminate the need to wash your car, but will extend the time between these. If you really want to make your ceramic coating lasts as long as possible, wash your car every two to three weeks.
Also, whenever possible, avoid leaving your car in direct sunlight. Excessive heat is one of the biggest and mightiest enemies of ceramic coating. When washing your car at home, do it in the early morning or early evening as the sun will be at its lowest, helping you avoid water spots.

What If The Ceramic Coating Application Fails?
If you don’t follow our advice to choose a high-quality ceramic coating like Nexgen Ceramic Spray and go after a cheap product, you risk wasting time and money with nothing to show for it.
But other than choosing a low-quality DIY product, one of the biggest reasons a ceramic coating might go wrong is improper preparation. What happens if you don’t spend the time and attention to guarantee a clean look before ceramic coating? You can end up fixing the existing blemishes even more!
The good part is no ceramic is permanent. Especially in the case of DIY products with a life span of just a few months anyways. Depending on the type of ceramic coating product you chose, professional or over the counter, you have the following solutions to remove it:
- Polishing
- Claying
- Using a chemical applicator
Wrapping It All Up
If you followed our post, you now have a good understanding of the main differences between professional-grade ceramic coatings vs the best DIY ceramic coating kits.
Letting a professional perform this job might seem tempting and such, but it does come with a premium price. For some consumers, it simply makes sense to opt for professionally applied products. Others might want to save some money, or simply enjoy performing the application themselves.
If a DIY ceramic coating seems attractive enough to give it a try, make sure that you purchase a high-quality and easy-to-apply product. It should also provide an exceptional hydrophobic effect, and be from a company offering superior customer support.
Before buying any item, remember the important aspects we have described today, and do your research well. You should select a coating featuring the best protection at the best price. But, at the same time, avoid going after the cheapest product.
We hope this guide has given you a better understanding of what a do-it-yourself ceramic coating consists of, but also of what it can and cannot do. If you have any more questions, simply get in touch with us.
You might also find it helpful to read the reviews we wrote on the best DIY ceramic coatings on the market, including:
- Torque Detail Review
- Shine Armor Review
- TopCoat F11 Review
- Mother’s CMX Ceramic Spray Review
- Turtle Wax Ice Review